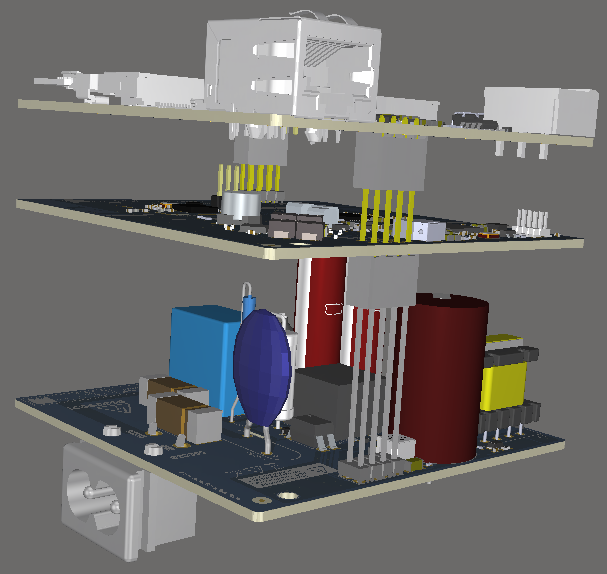
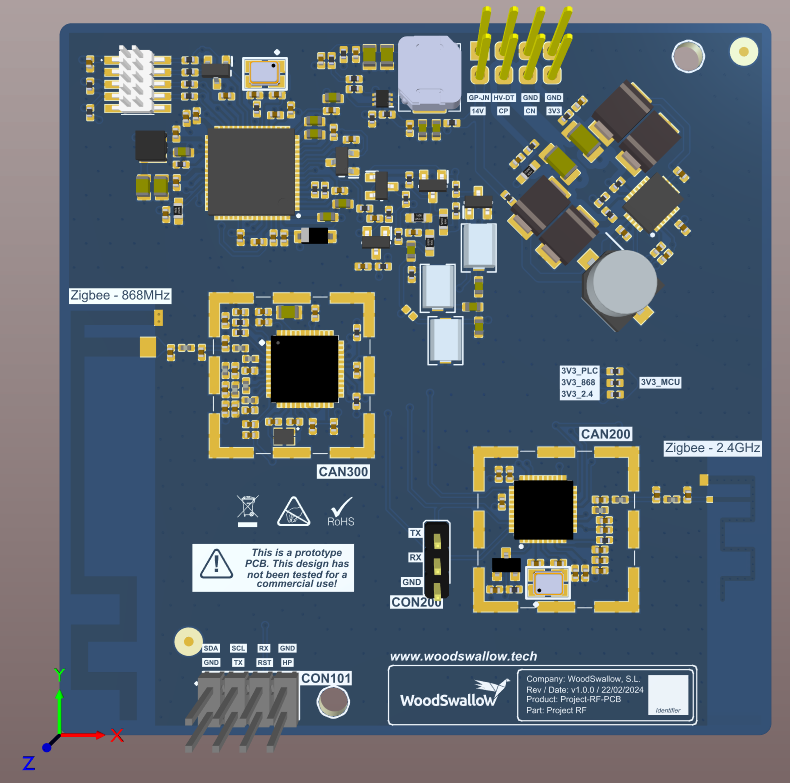
The global embedded systems sector is a huge market with a strong growth projection. It is projected to grow from $100.04 billion in 2023 to $161.86 billion by 2030, according to Fortune Business Insights. But, as in any electronics development process, both the development and the device itself must be as efficient as possible. Even more so when an embedded device is designed to be manufactured in thousands or even millions of units. In such cases, every hour and every cent spent in hardware design counts.
Hardware design challenges
Over the years, our hardware engineers have faced (and solved) many challenges during the hardware design and development of embedded systems and IoT products. Challenges related to the product’s requirements specifications, the selection of the best components, the design for manufacturability, or the production tests.
In this article we have tried to compile some of the most common and relevant challenges we faced. We hope this article will help you anticipate potential problems and find the best solutions for your embedded product.
1. Incomplete PRS or poor capture of requirements
The first step in any project must be a good definition of the PRS (Product Requirement Specification). This document is defined by the client and/or our group of engineers. It describes all the specifications related to the product at all levels: hardware, firmware, regulations, etc.
It is essential at this stage of definition to know in depth the regulations that apply to each product. The regulations will depend not only on the type of product but also on the country where it is to be sold/installed.
Some examples of information the PRS should contain are:
- Standards: IEC, electrical safety, etc.
- Environmental characteristics: IP rating, type of insulation, temperature range.
- Electrical characteristics: supply voltage, input range, metering range (in case of metering equipment such as electricity meters), etc.
- Mechanical characteristics.
Good requirements acquisition will lay the foundation for a good and seamless hardware design. That’s why you should always avoid an incomplete PRS or poor capture of requirements


2. Finding the right balance between cost vs quality
Balance is essential when you are designing a product. Once you have a complete PRS, the next step is the creation of an HLD (High Level Design) document. It describes the main blocks that will make up our Hardware, as well as some of the main components to comply with the requirements extracted from the PRS. This stage is known as Requirements Analysis.
During this phase, you will have to ask yourself a few questions that will help you achieve the right balance for your product.
Discrete components or integrated components?
Usually, the first option is cheaper, but it requires most development time, so is important to evaluate the production forecast units to compensate the cost of design. A more integrated solution reduces the design time but increase the end material cost.
Another important point is the space occupied by the components. Using discrete components sometimes increase the area occupied by the components, while using integrated components can lead to an optimisation of the space used, which is sometimes crucial depending on the type of hardware design and the physical space available for the development of the electronics.
How do we balance cost control vs. quality and safety?
The quality and safety of a product must be non-negotiable. But the higher the quality and safety, the higher the costs. So, where is the limit? How do we balance cost control vs. quality and safety?
In order to find this balance, it is very important to define the correct maximum voltage or current of the components, the width or impedance of the tracks, or the minimum clearance or creepage to comply with the quality or safety parameters, but also it is important to set them correctly to save design and production costs.
Who will manufacture my product?
There are different manufacturers, and the QoS depend on the selected. Aspects such as delivery time, weekly production volume, or product completion may be more or less important in the project and need to be considered.
3. Having a plan B when selecting components
In this case, component-specific considerations are assessed. For example: stock availability or factory lead time. It is important to be clear about the time it will take to have the components available for assembly. A high lead time can lead to delays in manufacturing if it has not been considered when placing the purchase orders.
Having alternative references for each component can be a lifesaver in case of stock-outs or unexpected price increases. Also, having alternative manufacturers will give us an advantage in price negotiations with suppliers.
We have experienced a few component crises ourselves, such as the attack on the twin towers which led to tighter border controls, the COVID pandemic with the closure of many factories related to electronic components, or the Ukrainian war with limited market and increased costs.
After these experiences, we have learned that a hardware design with components as basic as possible, without exclusivity and with easy replacement from other manufacturers, is a smart approach. The aim is to avoid, as far as possible, the impact of external crises on our product.
4. Meeting energy efficiency goals
Power consumption should always be an important design consideration, but even more so if the system is battery powered. In this case reducing consumption during normal operation or idle times should be one of the main objectives of the project. This should be addressed from the very beginning with the selection of the right components and the correct hardware design architecture.
In this sense there are strategies to optimize consumption by considering different component parameters such as:
- Leakage current.
- IC power supply quiescent current.
- IC power supply reverse current.
For example, if we have a peripheral connected to our microcontroller, we must consider whether it should be always powered, or we must add a power switch to turn off the supply. A good practice in this sense should be to configure all the pins that connect to that peripheral so that they are in the state that results in the lowest consumption when the peripheral is without power. Keeping an output pin from the microcontroller at high level connected to a peripheral that is off can lead to high leakage consumption, so it is better to configure it as input or output at low level.
5. Orienting design for manufacture (DFM) with the aim of cost savings
Another of the most important points when starting a hardware design is to be clear about whether we are designing a prototype for small batches or a product that must be assembled in series in an automated way. In the second case, DFM is fundamental when it comes to component placement and layout in general.
There are several considerations to reduce assembly costs and avoid extra labour costs. For example:
- Keep all components on one side to reduce assembly costs.
- Avoid through hole components as they usually require manual assembly or a jig for tin wave assembly which increases assembly costs.
- If we cannot avoid the use of TH components, keep minimum distances between the pads of such components and surrounding elements to facilitate wave soldering. It is common to need 2mm minimum.
- Maintain a minimum distance between any component and the edge of the board to avoid damage during PCB (Printed Circuit Board) assembly. It is common to need 3mm minimum.
- And many more…
Also, it is very important to share the design at an early stage with the factory to perform a DFM analysis, detect possible complications in future assembly and take corrective actions before the design is finalized.

6. Providing the factory with the right production testing tools
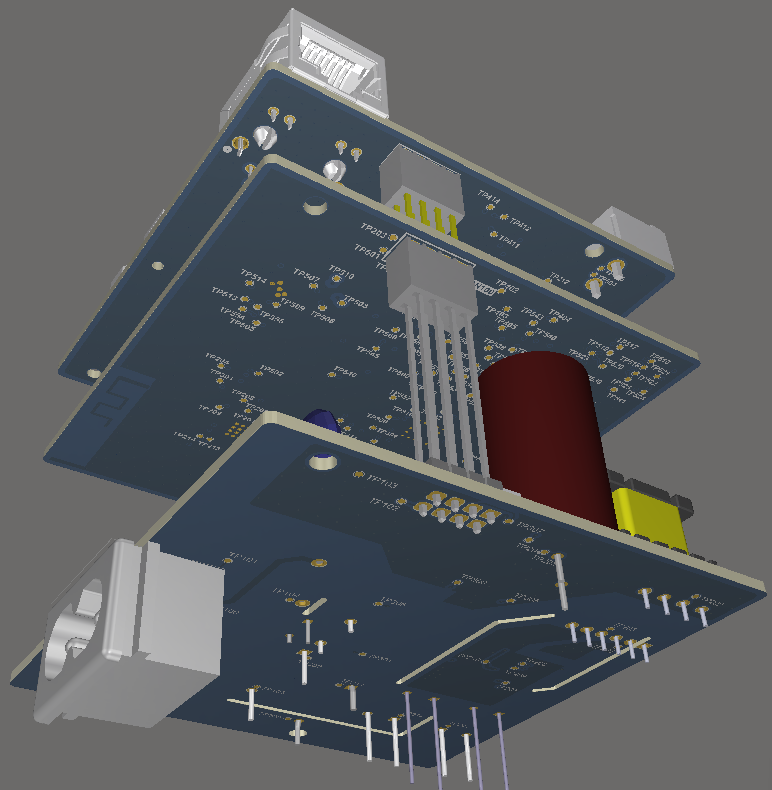
It is crucial to define an adequate number of test points for both manufacturing and assembly so that the board is testable during both processes. Adding automated tests of each equipment once it is assembled avoids that any failure during the manufacturing process could lead to a faulty product.
Automation of equipment testing in the factory is essential to ensure reliability and cost savings in the manufacturing process. A previous step is the DVT (Design Test Verification) when the design is in a prototype phase.
In this phase, the equipment must be tested in the same way as in the factory in the future manufacturing process. Following this phase, it is very important to contact the factory to define the test point requirements for manufacturing.
7. Finding a skilled team of hardware engineers
In most cases, embedded systems hardware has increasing space requirements and functional complexity, considering a multitude of factors. That’s why you need to have an experience and skilled team of hardware engineers.
It is essential that the hardware design team control current design factors such as the following:
- Mechanical requirements of prohibited areas, board shape, interfaces, connectors, battery holder, buttons, display or tamper switches.
- PSU block with big clearances, wide width traces, big through hole components, board gaps to creepage.
- RF block, SDRAM or differential pair tracks with impedance control traces, specific clearance, a lot of vias to reduce interferences.
- Numbers of layers. It is advisable to avoid interferences by routing the nets on the inner layers and to have the minimum possible track distances on the outer layers, except for the short distances between SMD components or the small distance to connect a test point.
And this concludes our article on the most common challenges during design and development of hardware for embedded systems. We hope it has been useful!
If you are looking for an experienced partner in Hardware and Firmware of embedded systems, contact us and we will be happy to explore the best solutions for your product!


